As soon as I discovered the process of pit firing I knew that it was a way of working that I strongly identified with, and I felt that I had found my creative direction. I am excited by its endless possibilities, by the fact that the pieces seem to have been created by nature itself, by the organic material, the seaweed, and the element of fire, with its power to transform the surface of the clay into a myriad of different patterns and colours.
The technique is a marriage between the artist and chance, experimentation and observation, where discovery becomes as significant as invention, and failures should be seen as just part of the process of learning. Each piece that is unearthed from the ashes is totally unique and I am inspired and intrigued by the fact that the beauty of nature itself seems have been encapsulated into the work when the elements interact. Consequently I am constantly striving to create forms that mirror the simplicity and balance evident all around us in the natural world, so that surface and form become seamlessly unified, as in nature.
The process of pit firing has endless possibilities, the pieces seem to have been created by nature itself, by the organic material, and the fire, which transforms the surface of the clay into a myriad of different patterns and colours, and each piece that is unearthed from the ashes is totally unique.
Early experiments started with simple smoke firing during Year 2 at Bucks New University in 2007. We built a structure out of engineering bricks and used a heavy metal lid over the top. We used the kiln to fire low fired burnished pieces which we buried in sawdust for a 12 hour firing.
Key inspiration for experimentation during my final year at university was Jane Perryman. I attended one of her workshops in Suffolk, and it was there that I had my first experience of the exciting and totally unpredictable technique of pit firing.
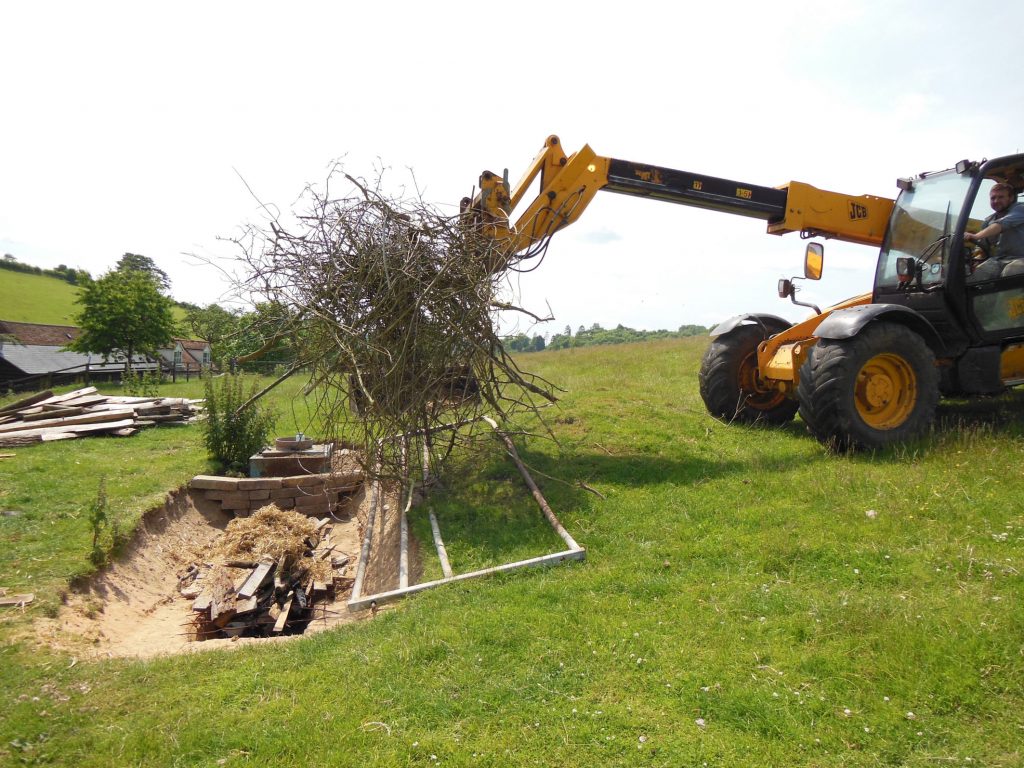
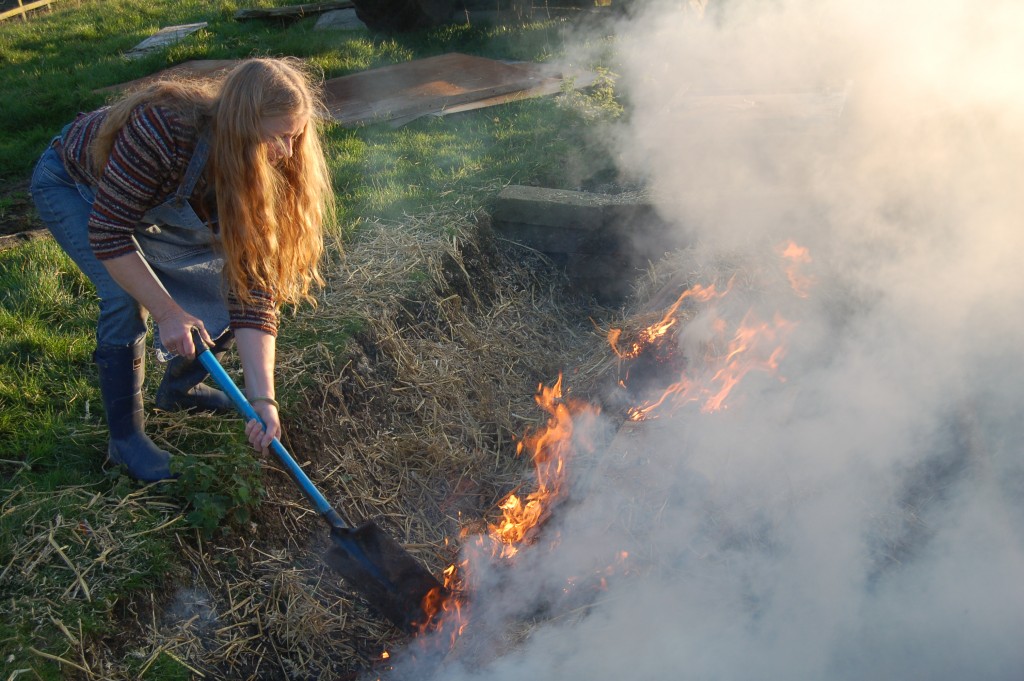
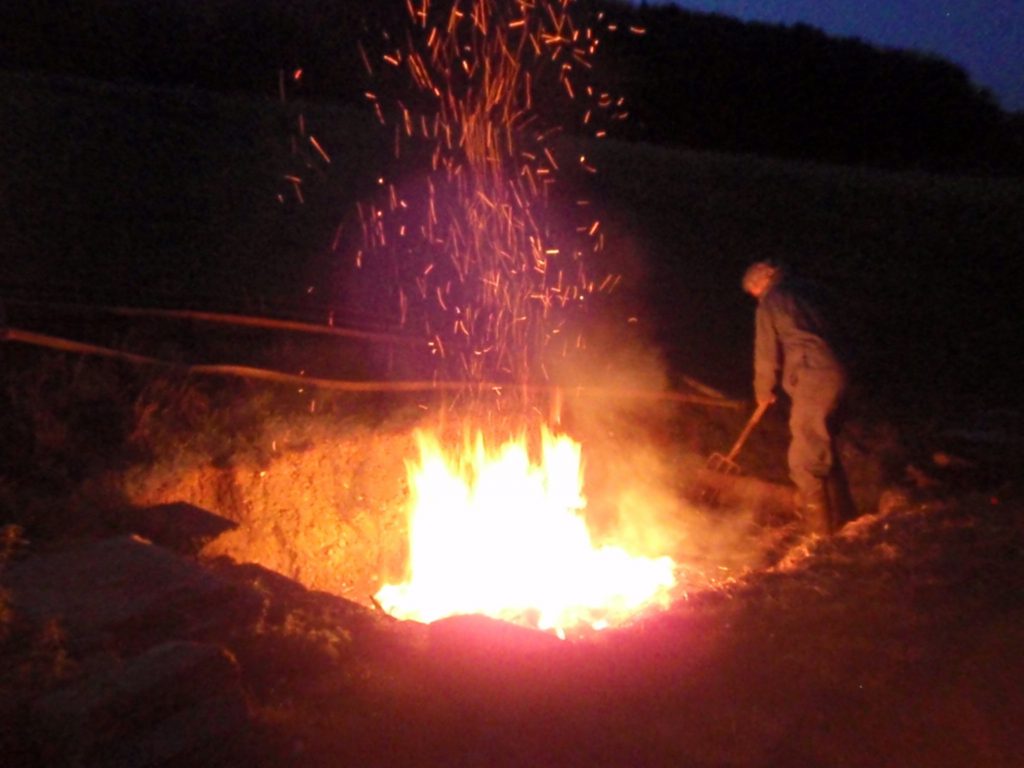
My first pit was dug with the aid of a JCB, and since then I have adapted the design several times. The pots are placed on 20-30cm sawdust in the bottom of the pit, and surrounded by a variety of organic materials and copper carbonate/sulphate. A large quantity of dry wood of approximately 1 metre depth is then put on top, followed by combustibles such as straw and paper. The fire is then lit and it burns for about 4 – 6 hours and then the pit is sealed for 70 hours for cooling.
Before the firing 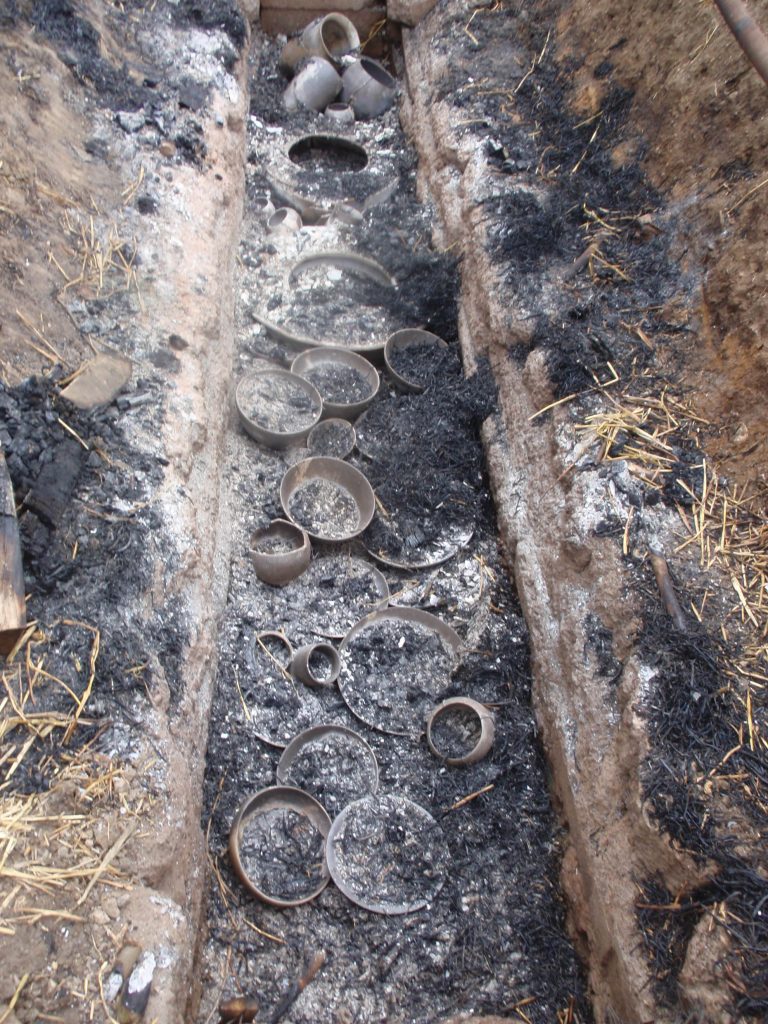
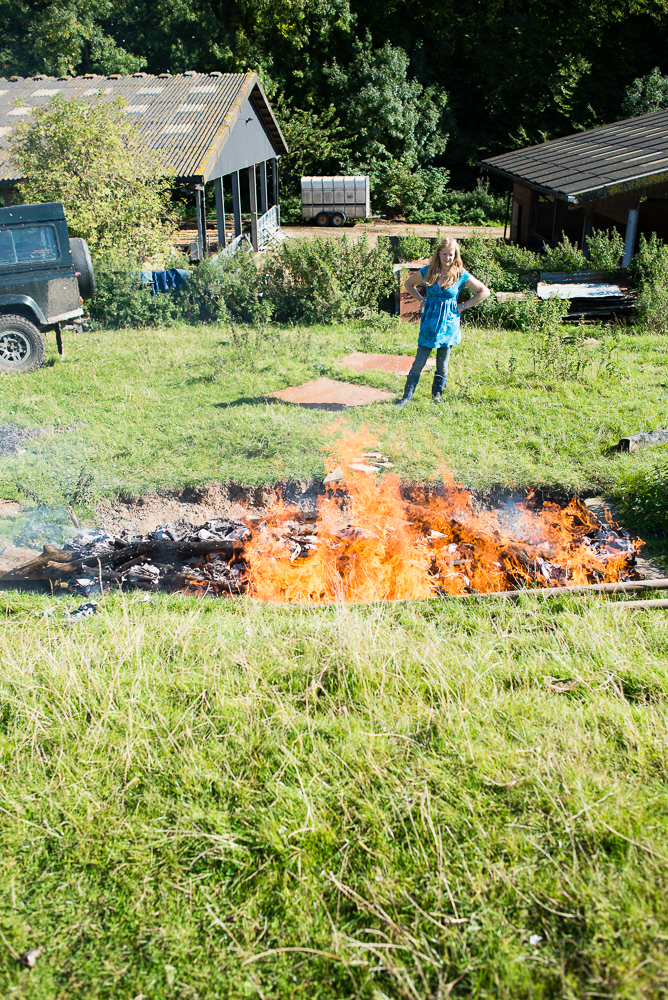
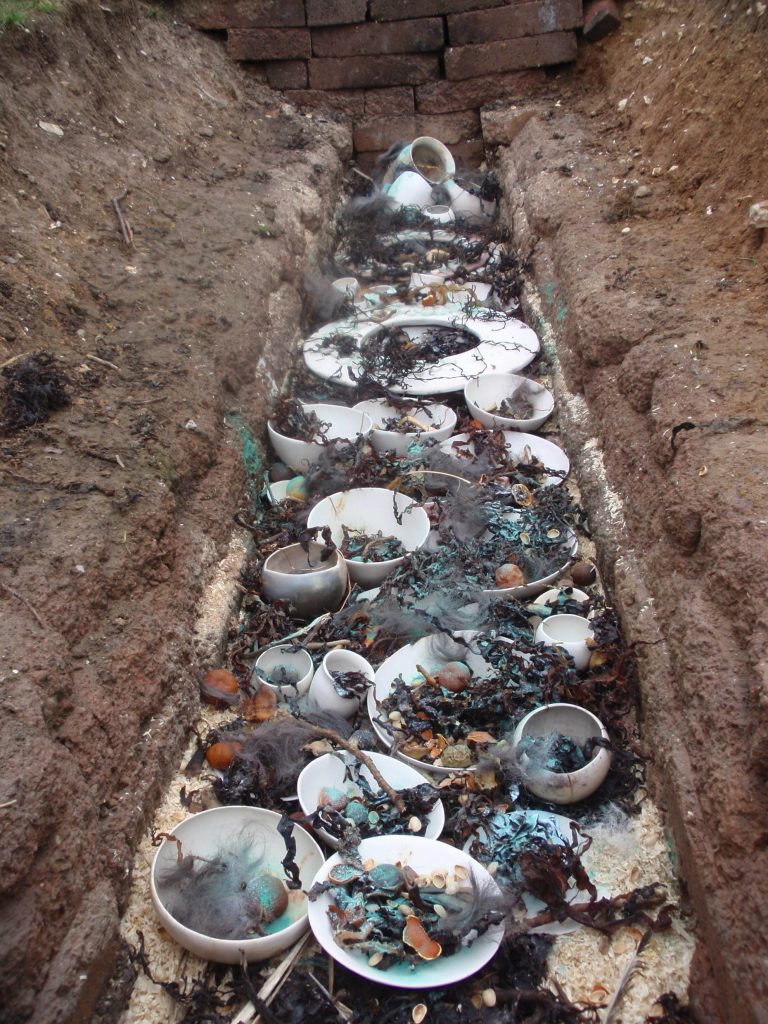
After opening the pit
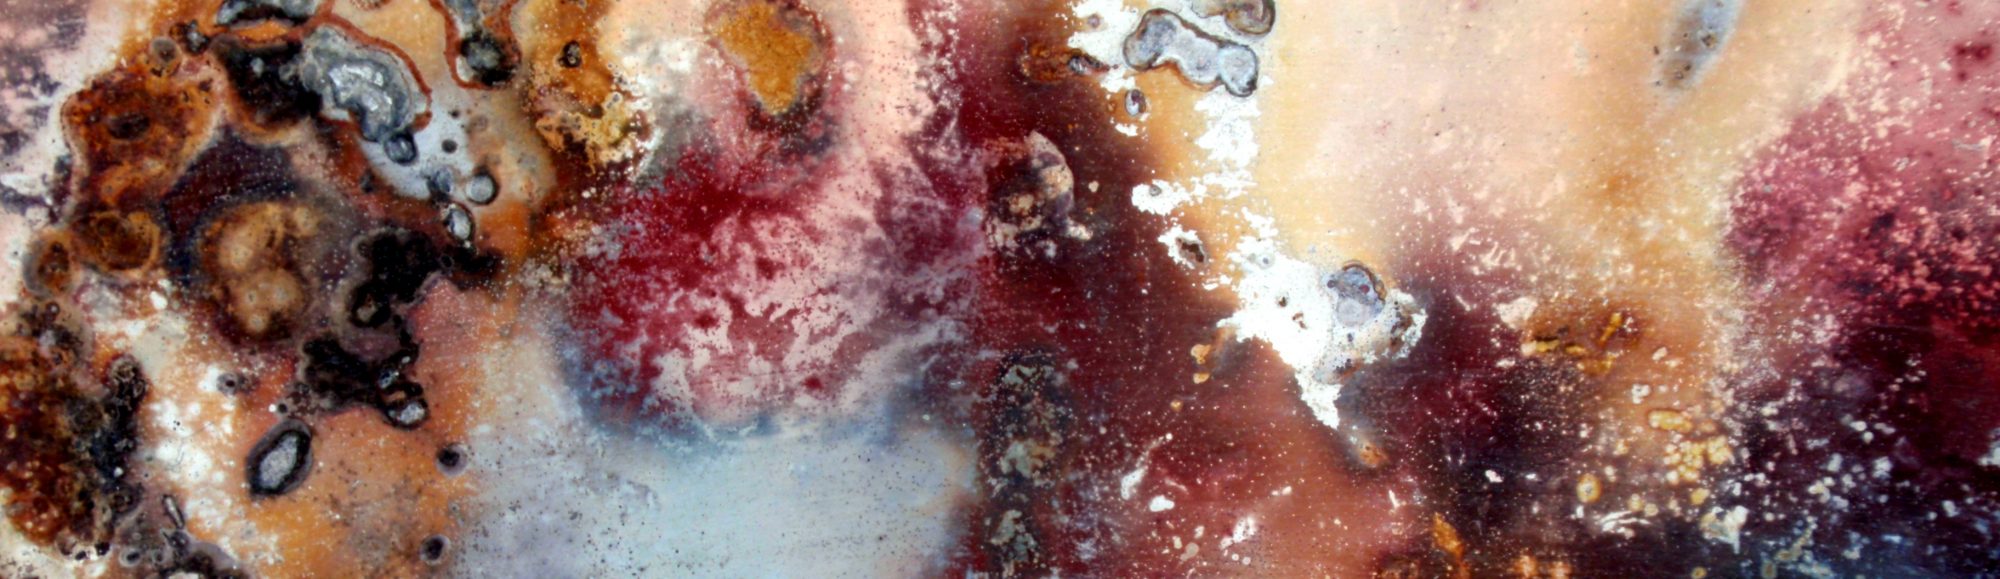
Every firing is completely different, and the excitement of discovering the pieces all buried in the ash has been likened to an archaeological dig! The explosion of colours and organic patterns revealed when the ash is brushed off, and a light sealing of wax is put on the pieces, is like dropping a pebble into the sea, a miracle of the alchemy of the natural world, and the fusion of earth, fire and organic material.
- Organic material you can use for pit-firing includes:
- Seaweed and driftwood
- Dried banana skins
- Dried citrus fruits and skins
- Avocado skins and stones
- Pistachio and other nut shells
- Copper wire wound around pots
- Copper carbonate and sulphate
- Salt and anything else you’d like to experiment with!
In my life I enjoy taking risks and chances, going on long journeys of discovery, and travelling to places where few people venture. By working in this way I am able to find the same challenges and adventure in my creative life, and I hope that my work conveys and retains the excitement and enthusiasm I feel when I am making it.
The Pit Firing process in Photographs
Photographs taken for the Ceramic Review Masterclass by Ben Boswell
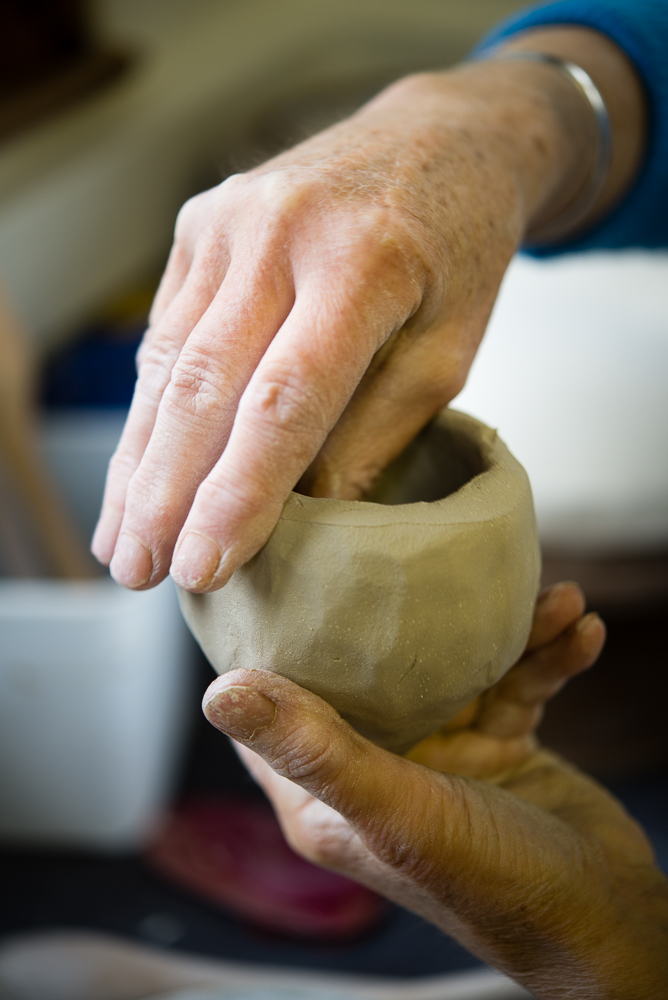
1. Small forms are pinched into shape. Valentines Ashraf Hanna clay is used for making all but the largest pieces, which are made using T- Material 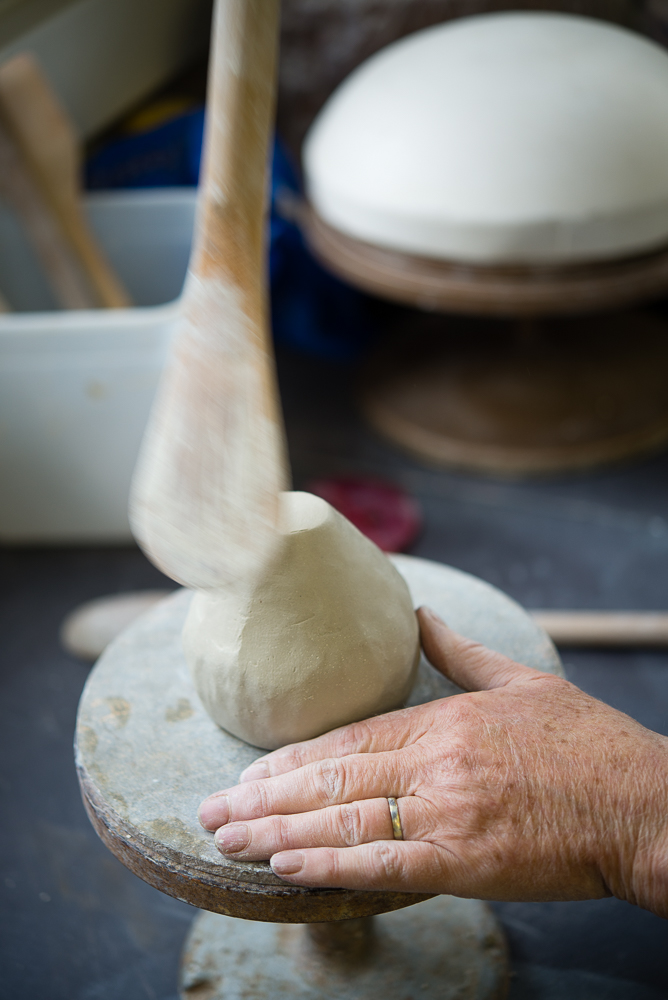
2. The vessels are then beaten with a selection of African wooden spoons to further refine the form 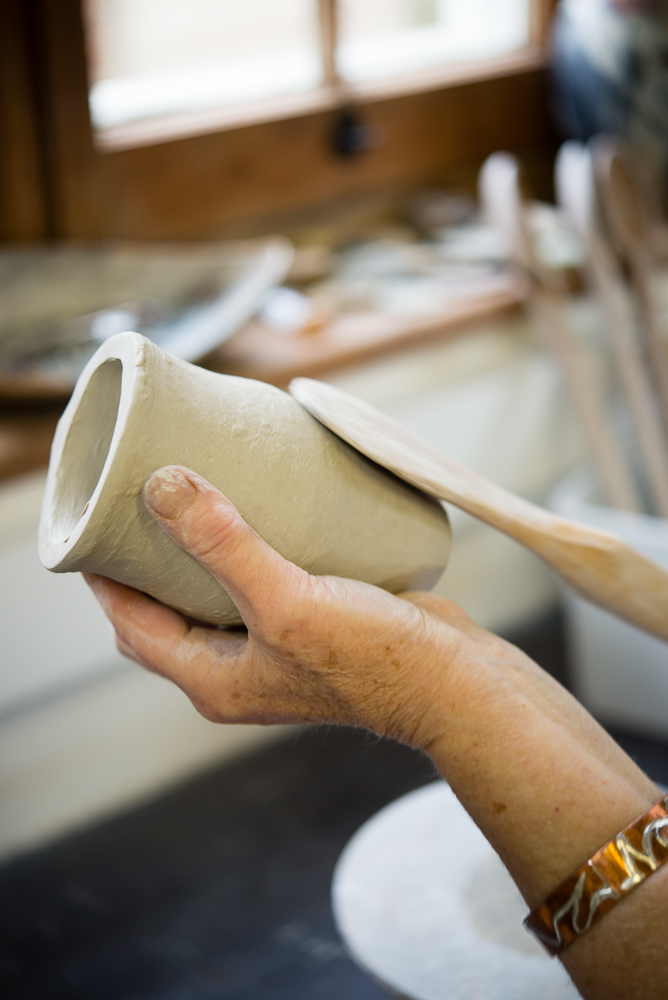
2(a) Beating the form to narrow the base 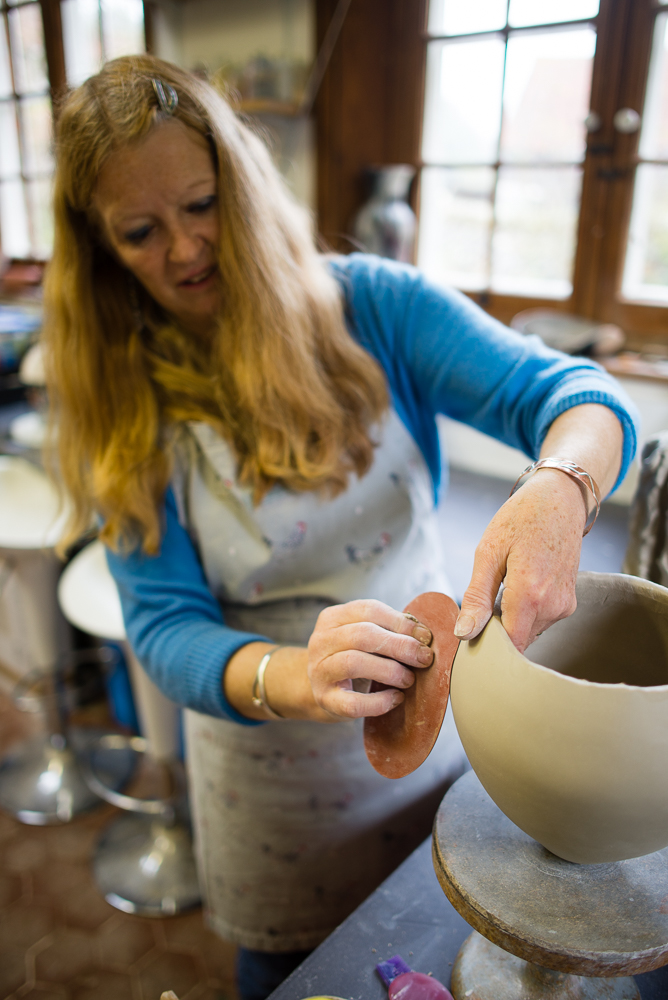
3(d) The surface of the form is smoothed with a rubber kidney, while at the same time the added coil is pinched, to shape and thin the walls of the vessel 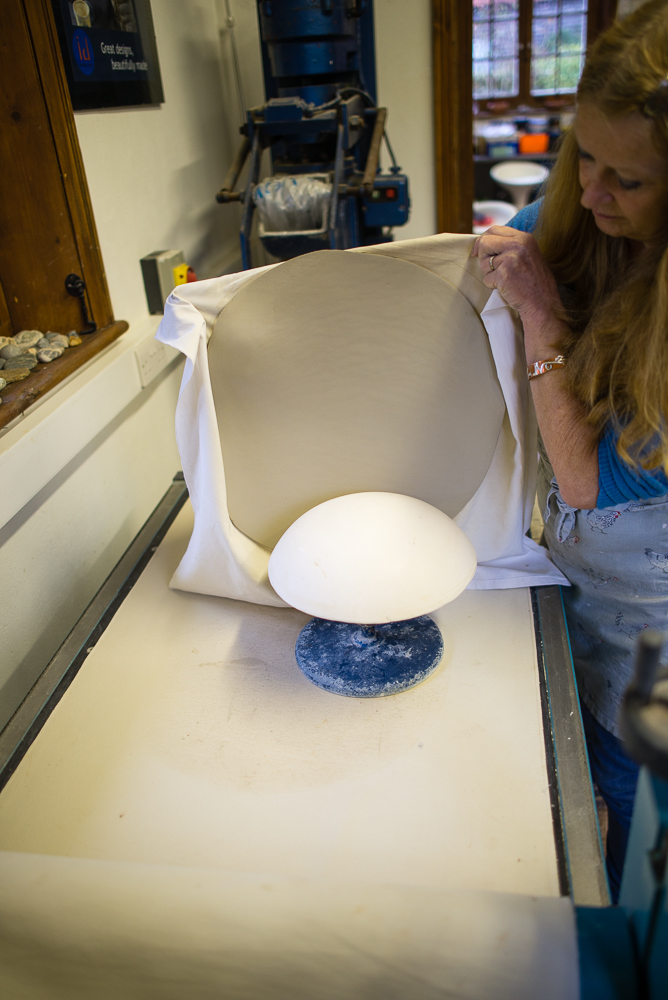
4. Bowls with rounded bottoms are press moulded over a home-made hump mould, after rolling out slabs using a slab roller 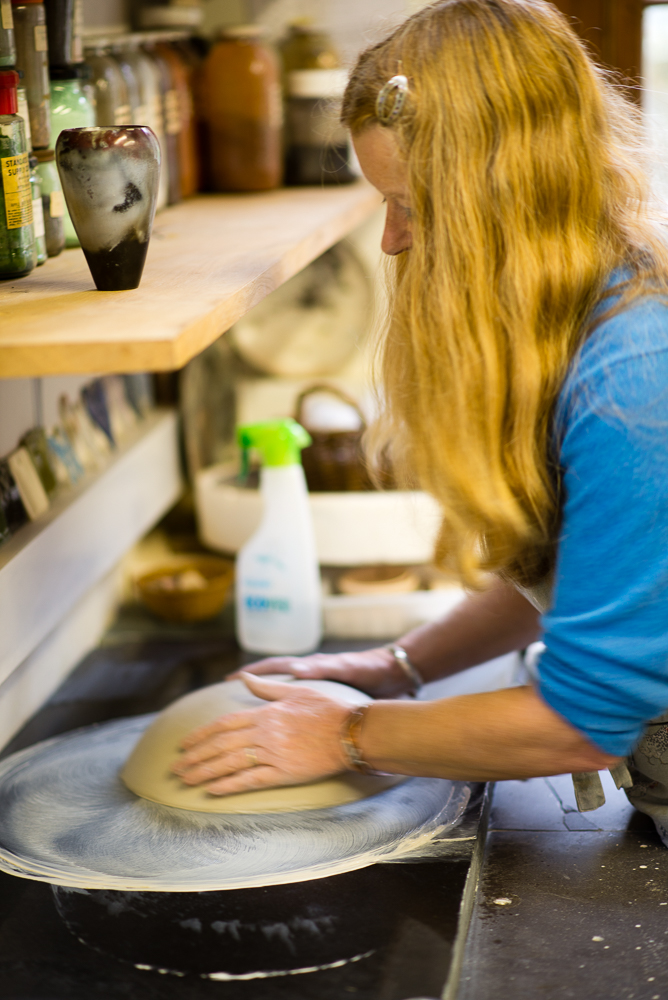
4(a) The edges to these bowls are levelled by rotating the inverted bowl in a figure of 8 motion, on a dampened polished granite worksurface. The edge is then refined and finished using very soft kidneys and polished burnishing stones 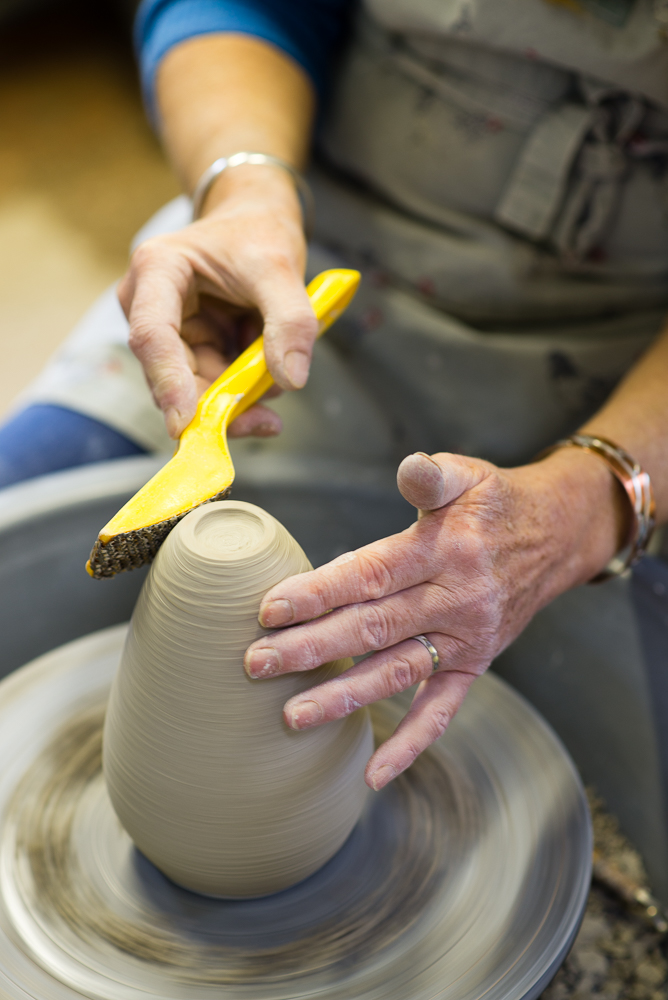
5. Many of the forms are further refined by turning before they are burnished 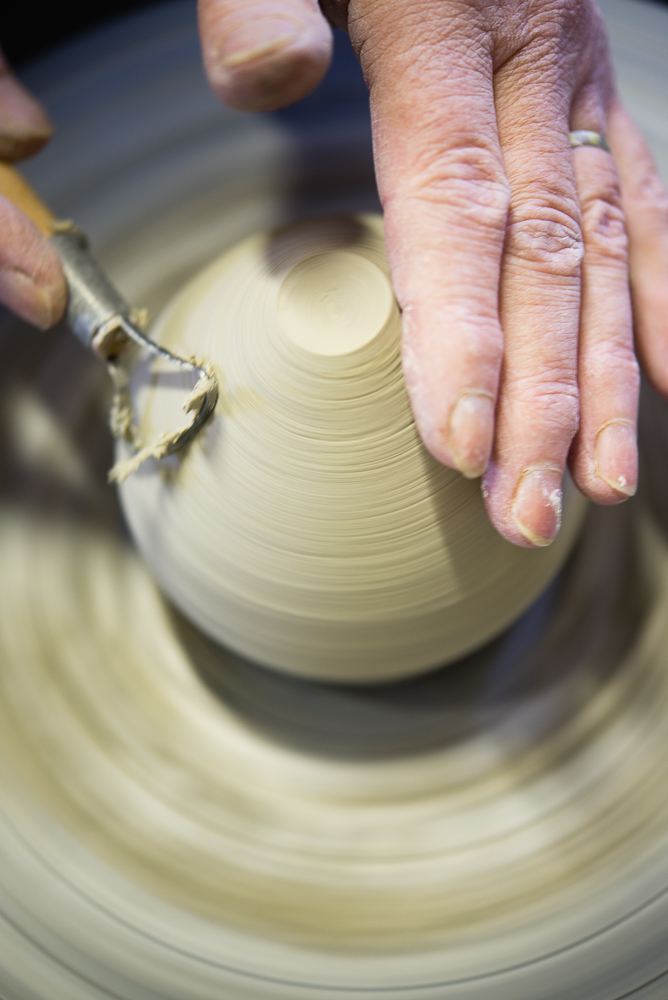
5(a) Turning a small vessel with a loop tool 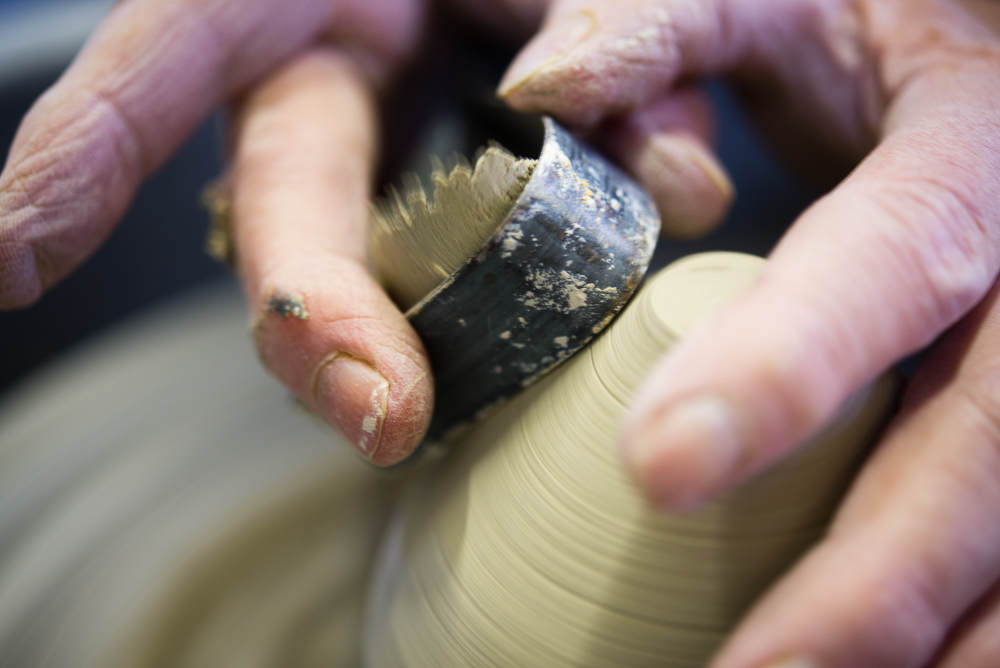
5(b) Turning a small vessel with a homemade turning tool designed by Richard Phethean 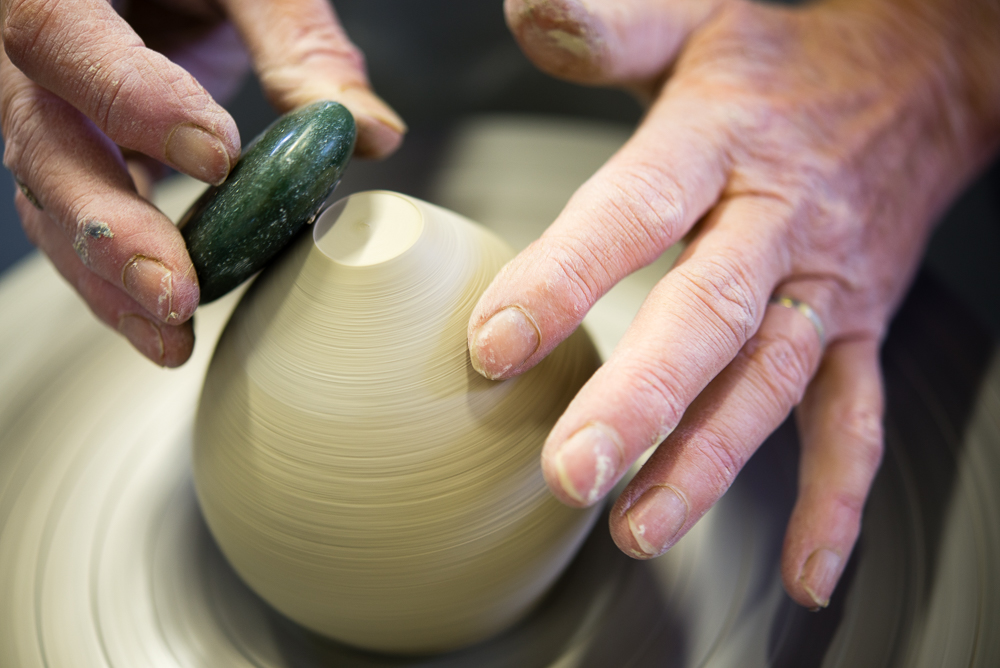
6. When the desired profile is achieved the leather-hard pieces are burnished on the wheel, using polished stones from a large collection of all different sizes and profiles 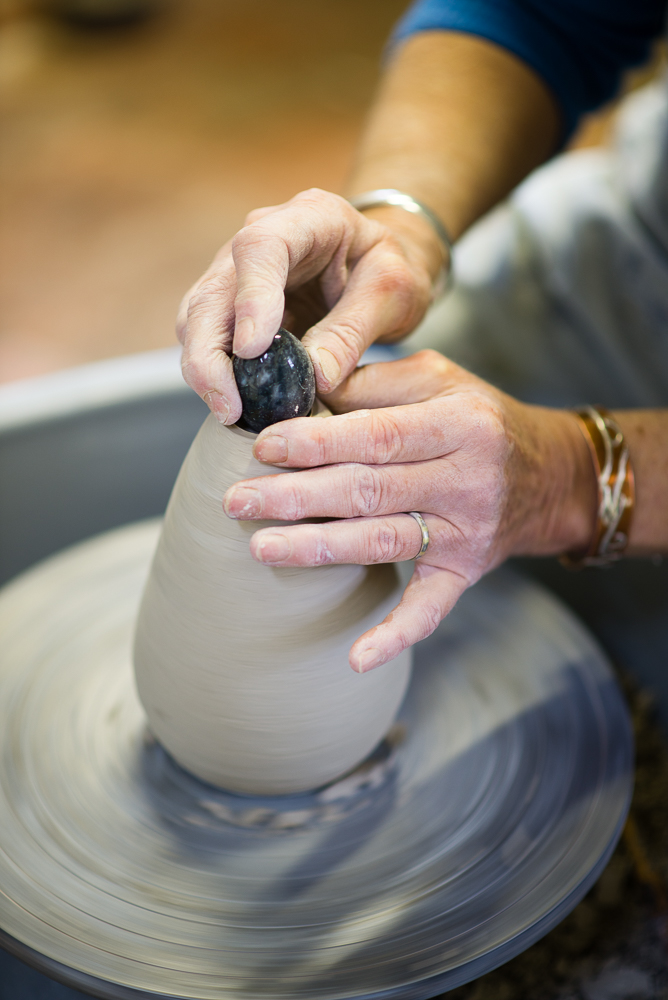
6(a) Burnishing the recess of a turned vessel with an egg shaped polished stone 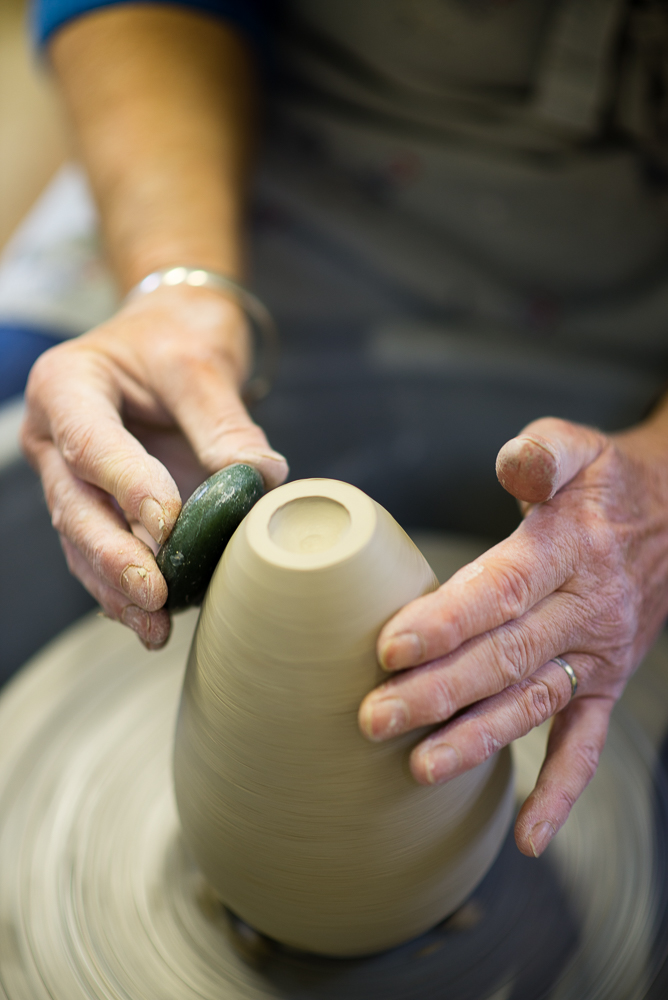
6(b) Burnishing a leather hard vessel on the wheel with a favourite polished stone 
6(c) Burnishing the bottom of a vessel with a long straight polished stone 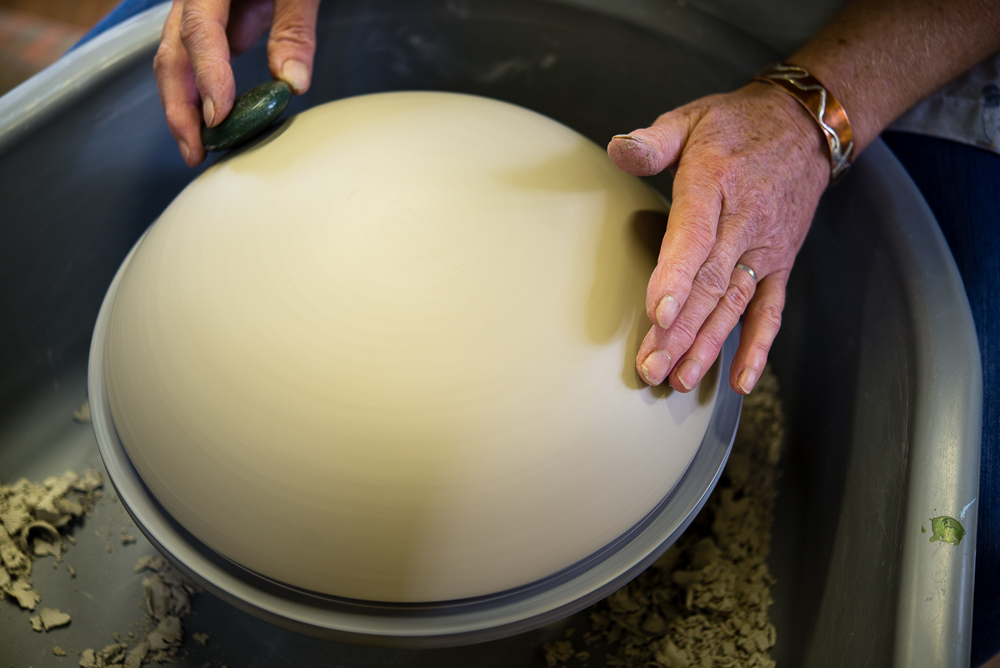
6(d) Burnishing a bowl on the wheel using the plaster hump mould for support 
7. Brushing 3 layers of terra sigillata onto bone dry greenware, prior to bisque firing to 920 degrees in an electric kiln 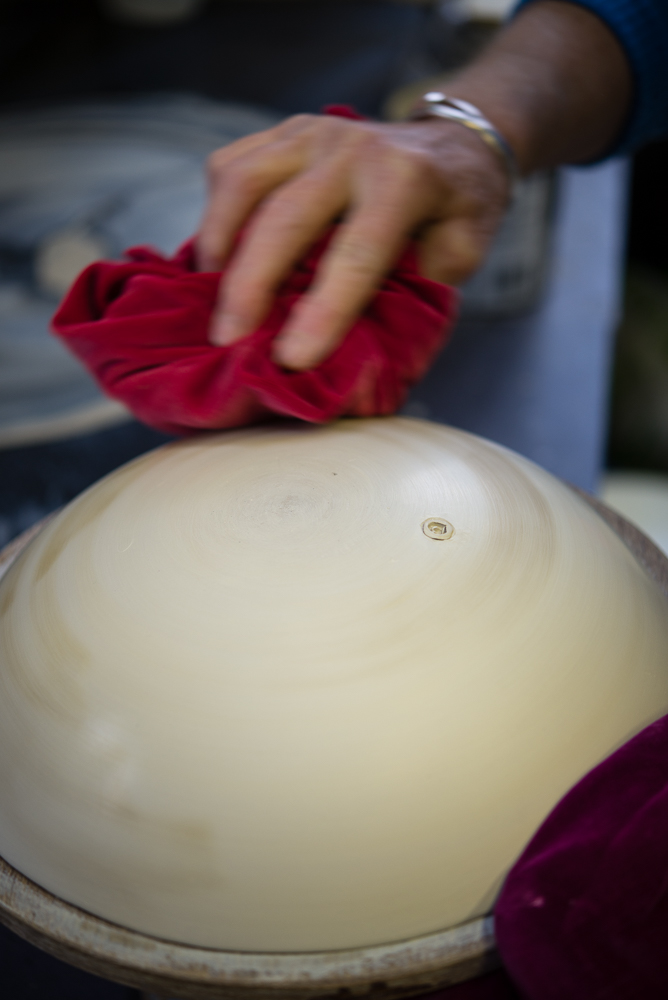
7(a) Polishing the terra sigillata with a soft velvet cloth a few minutes after applying it 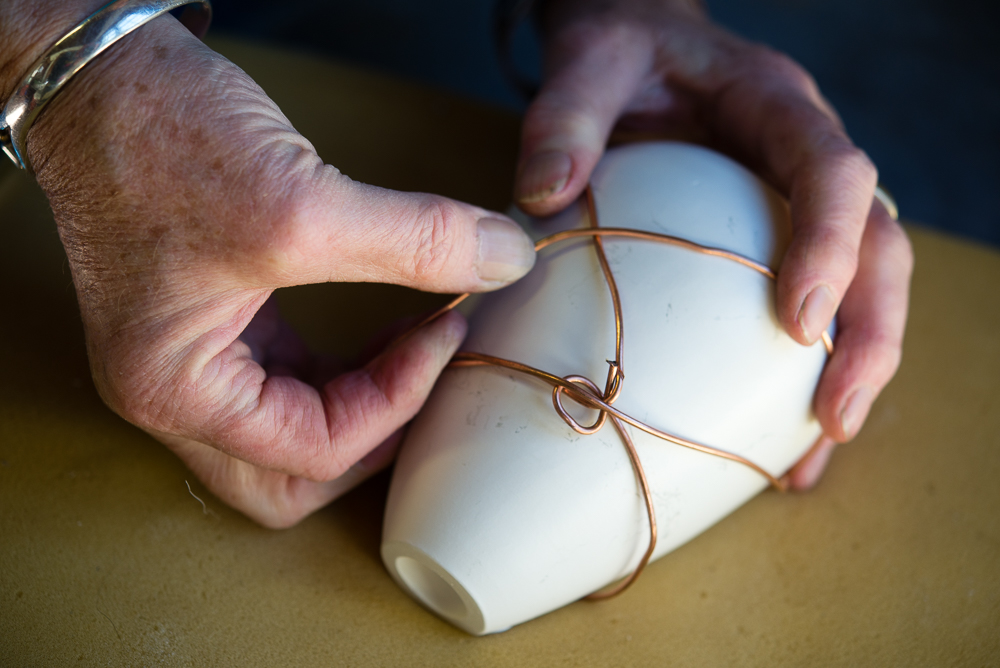
8. Wrapping copper wire around a vessel after it has been bisque fired, and prior to firing it in the pit 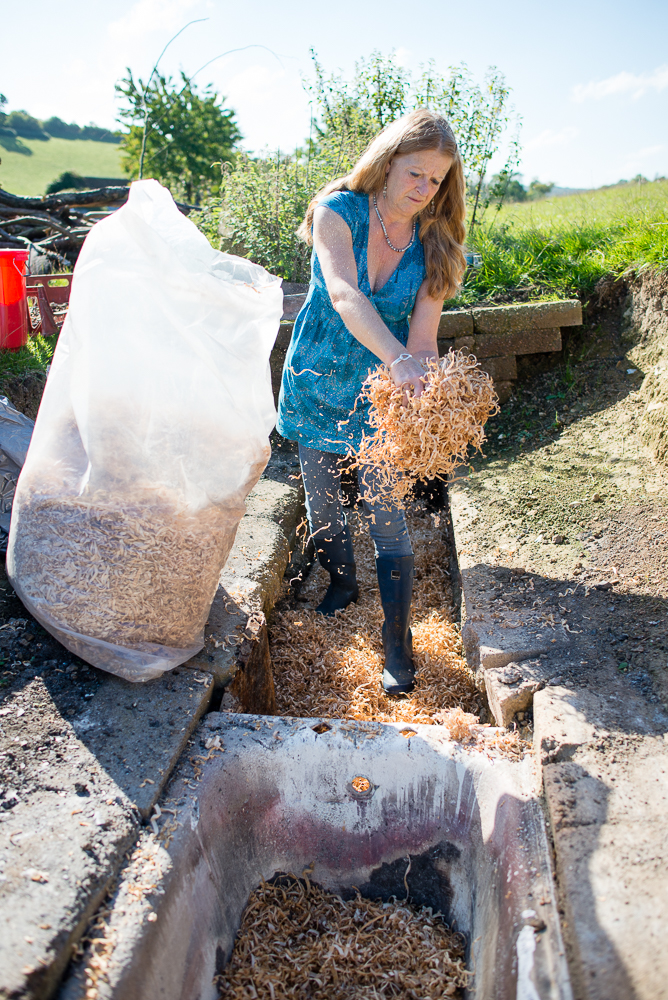
9. Pouring hardwood shavings into the pit up to a depth of approx. 25cm 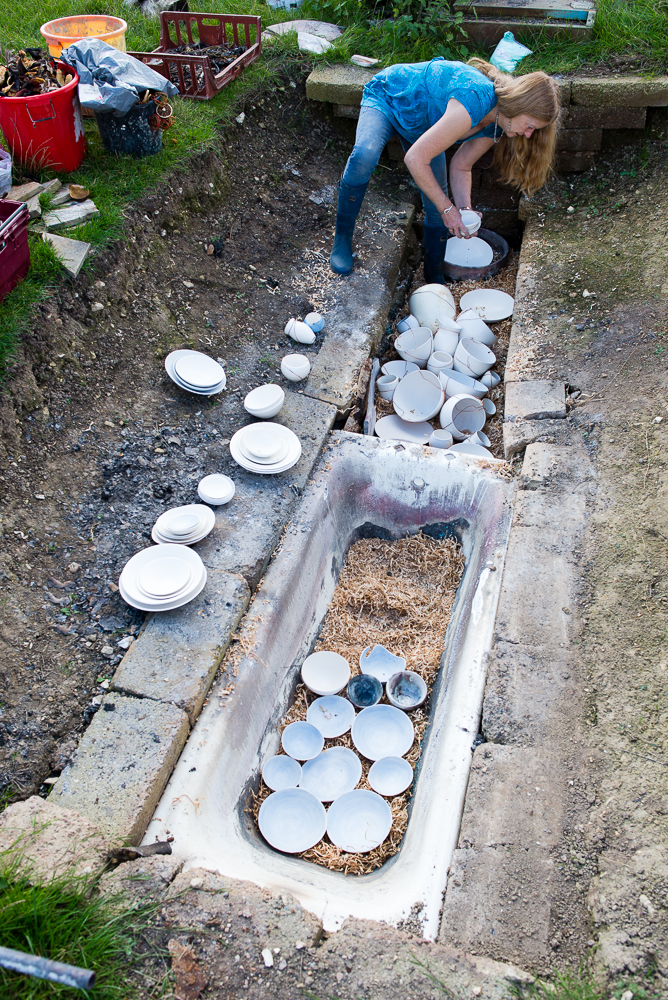
10. Carefully packing the work into the pit to maximise the colour development between the pieces 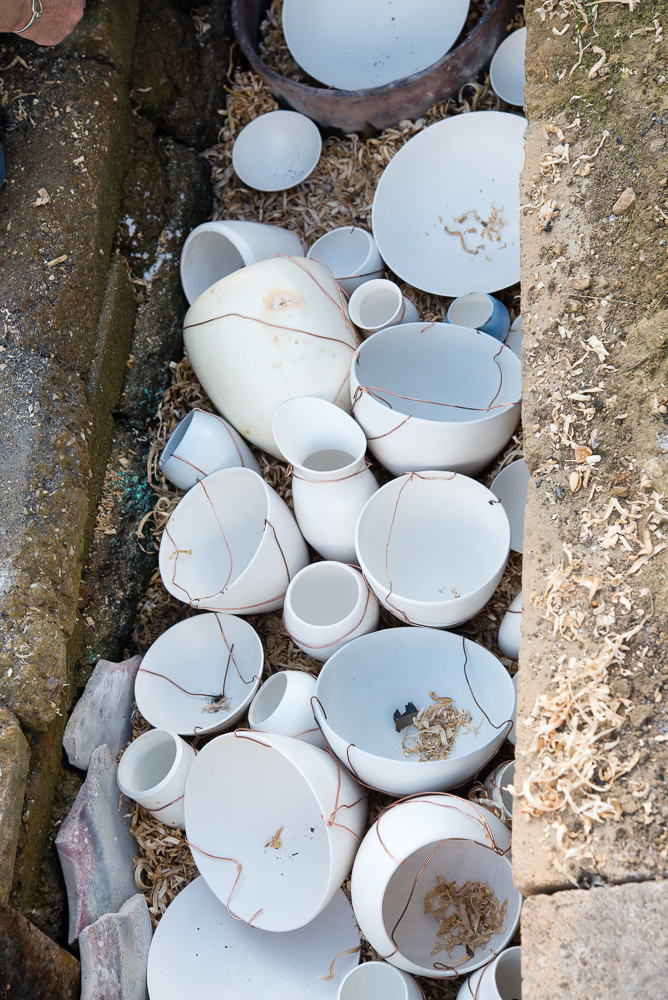
10(a) A packed pit, broken shards are also placed around the work to help retain heat within the pit 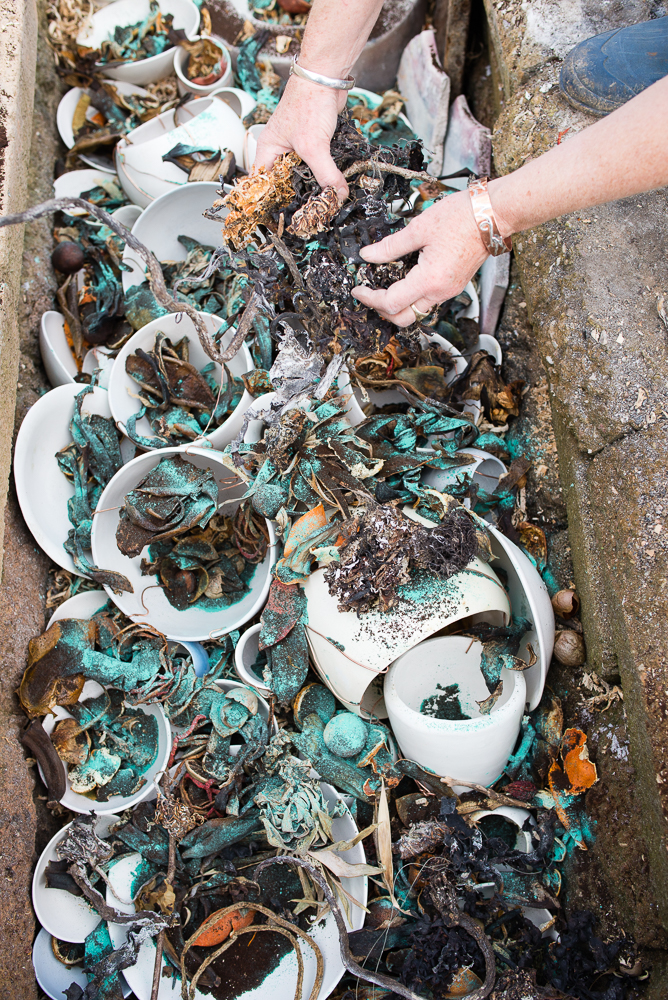
11. Placing organic material around the work in the pit: seaweed, dried fruit skins and stones, coffee grounds, nutshells, copper carbonate and salt 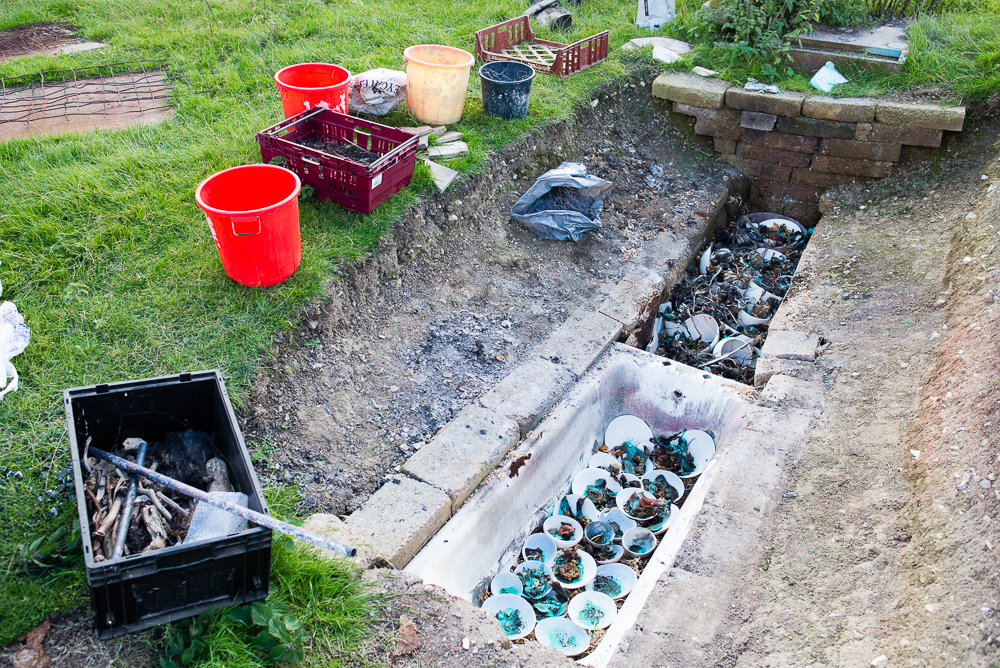
11(a) The pit packed with work. An old bath has been sunk into one end of the pit to help retain the heat 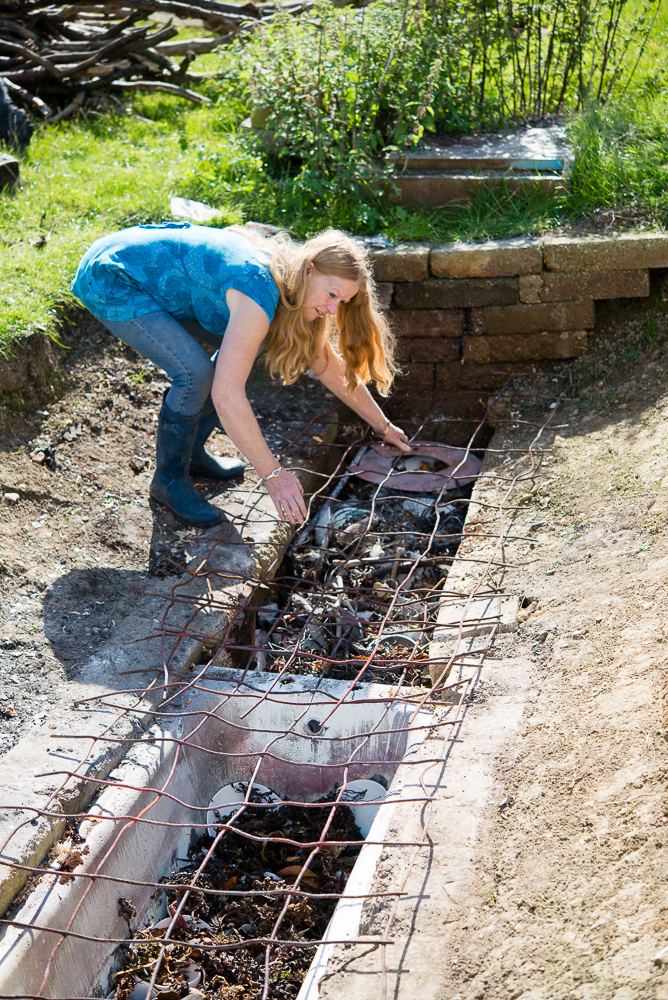
12. Placing a grid of wire over the work to protect it from the weight of the wood 
13. Loading up the pit with dry wood 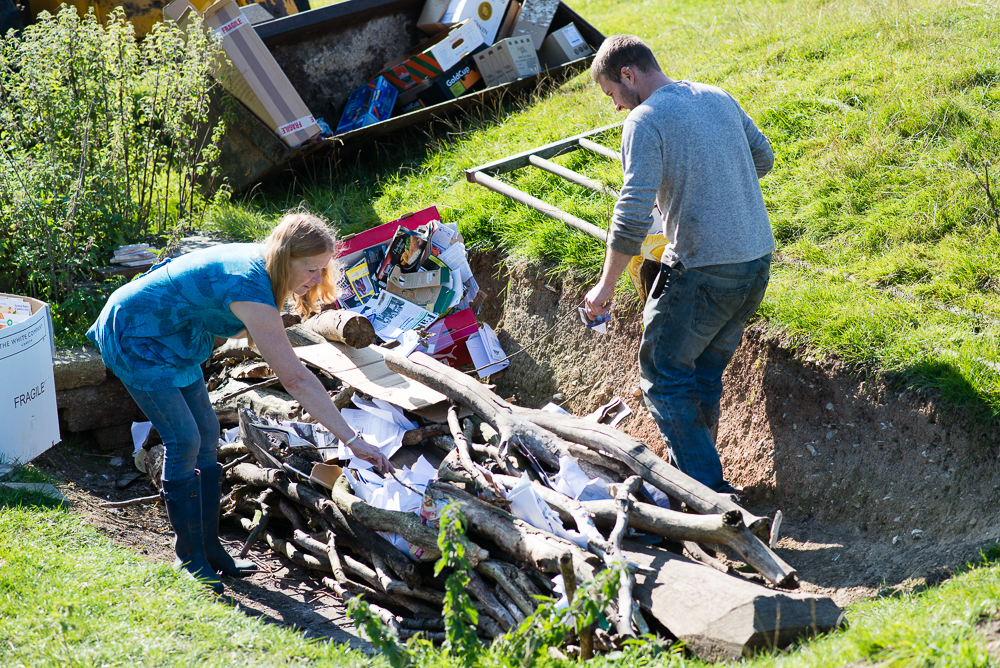
14. Pushing waste paper between the gaps in the wood to ensure a quick, hot burn 
15. The pit catching alight – it will burn hot for about 2 – 3 hours 16. Watching the fire burning to ensure it burns evenly and reaches a high temperature – over 1000 degrees 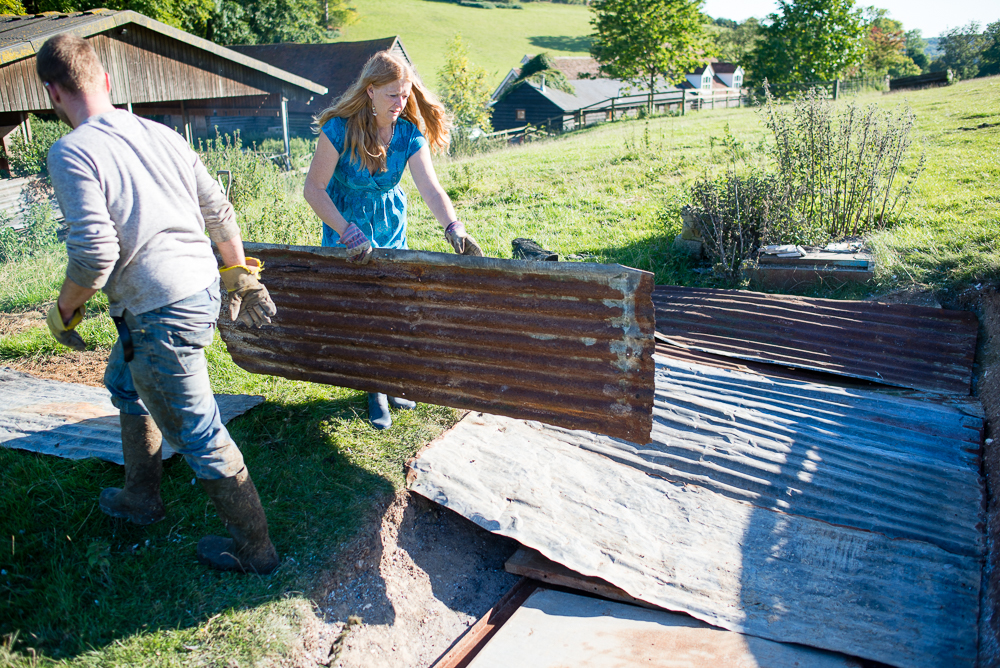
17. When the fire has burned down, but the pots are still glowing red hot in the embers, the whole pit is covered with 2 layers of sheet metal and corrugated tin 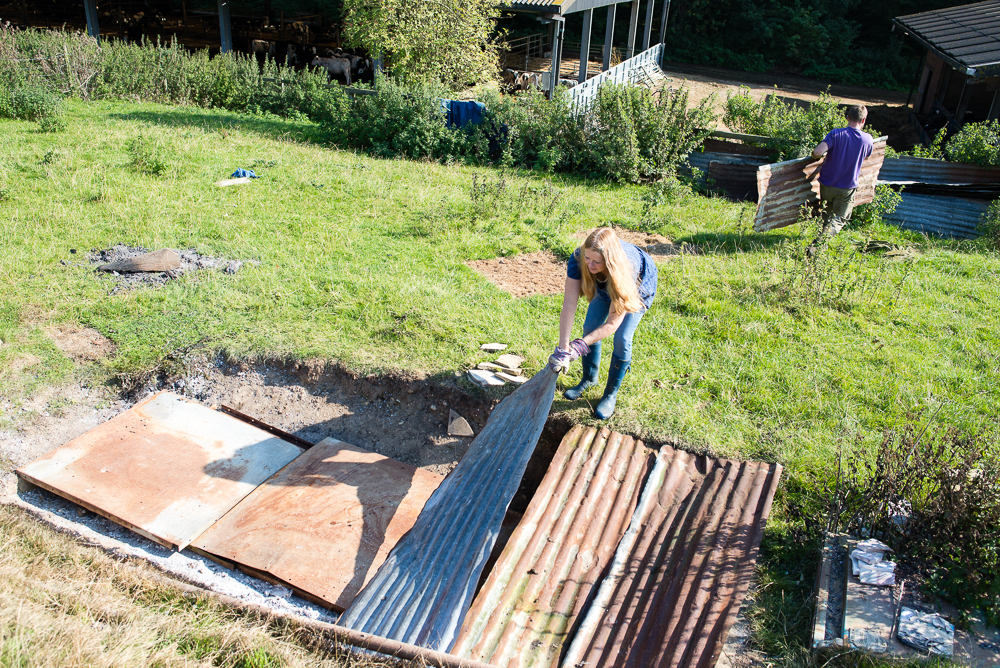
18. The moment of discovery 2 days later, when the pit is finally uncovered! 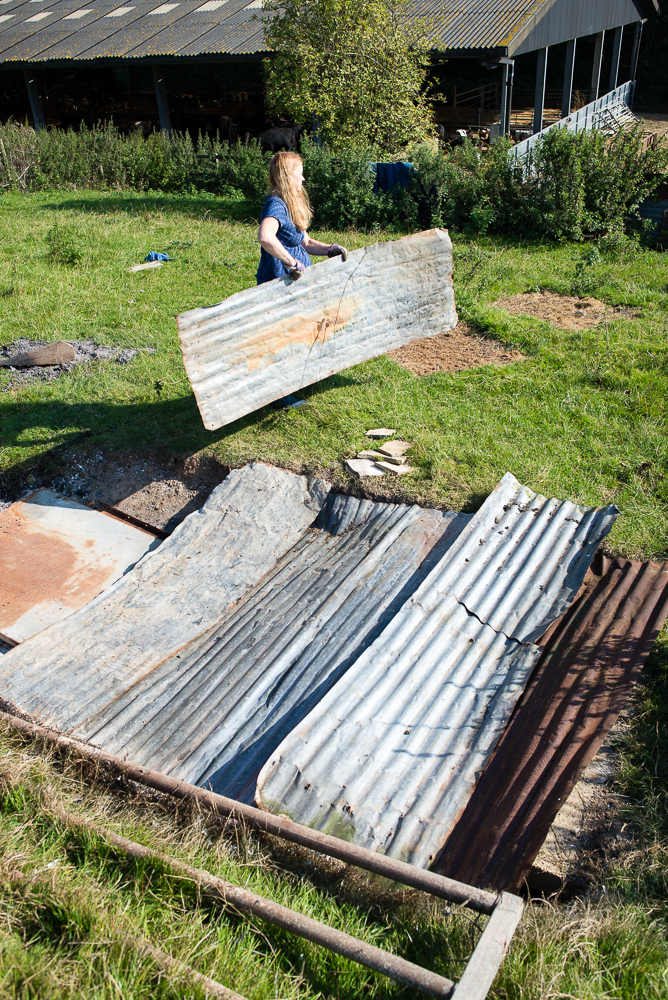
18(a) Uncovering the pit 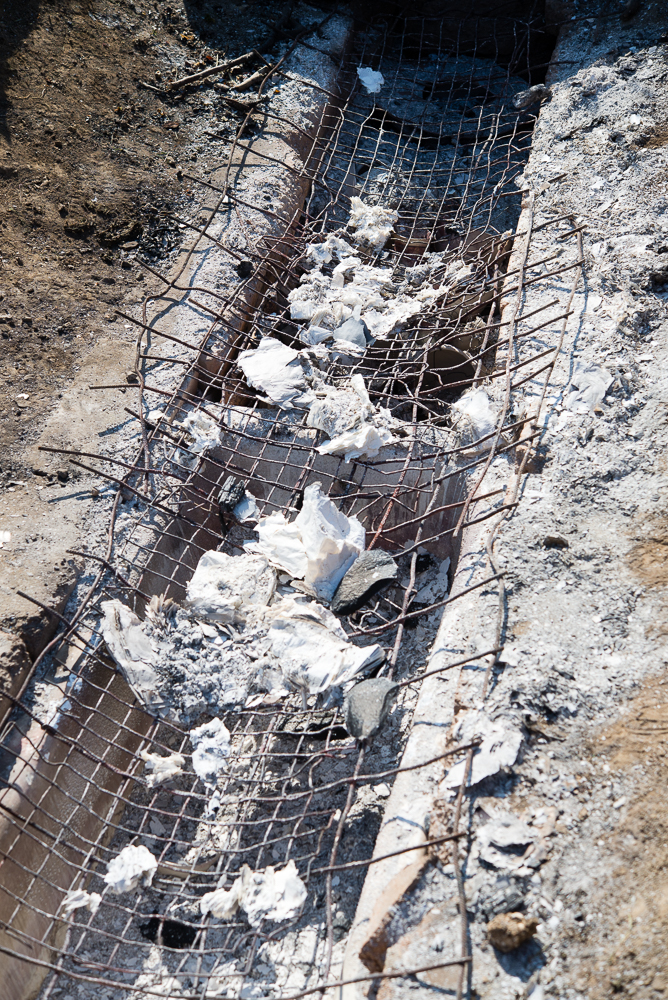
19. After uncovering the pit the pots are revealed lying buried in the ash 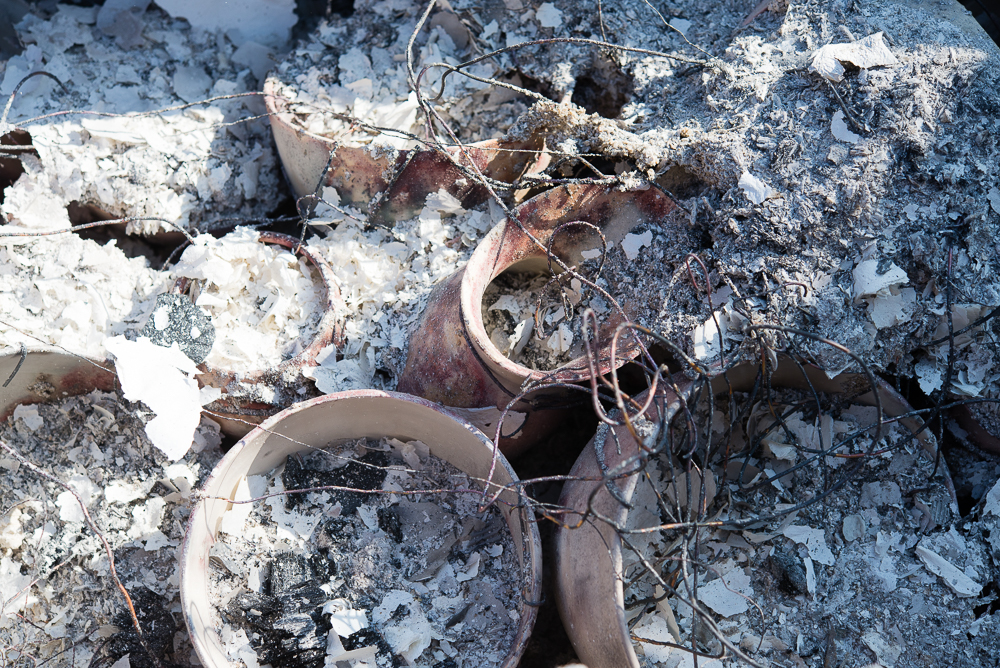
19(a) The pots all lying buried in the ashes 
19(b) Lifting the first pot out from the ash, and looking at the beautiful colours that have impergnated the surface of the piece 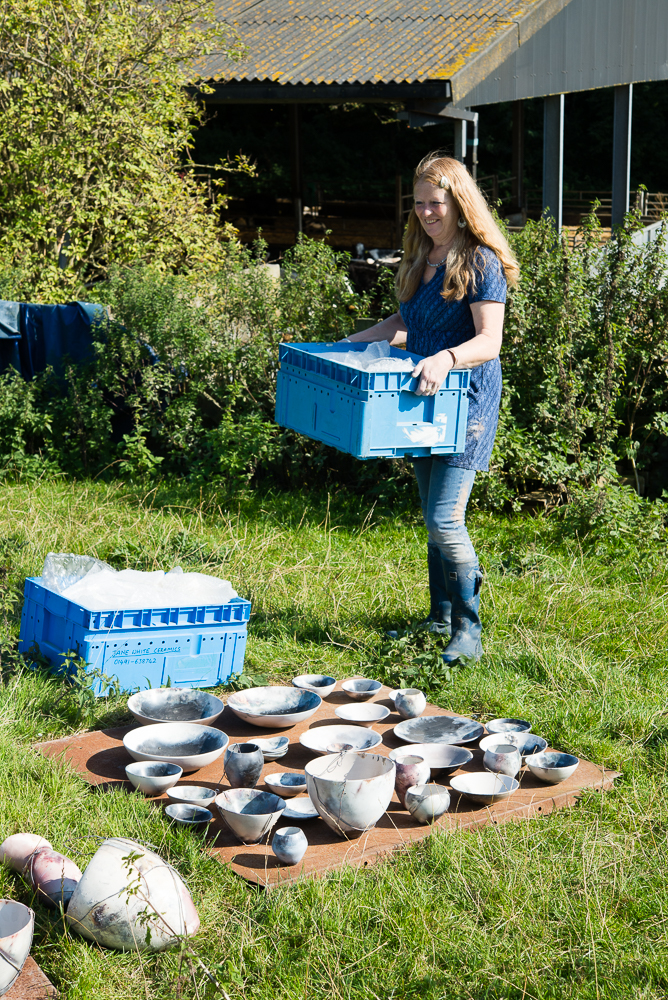
20. Unloading the pit and admiring all the colours and patterns in the summer sunshine, before packing it into boxes to take back to the studio 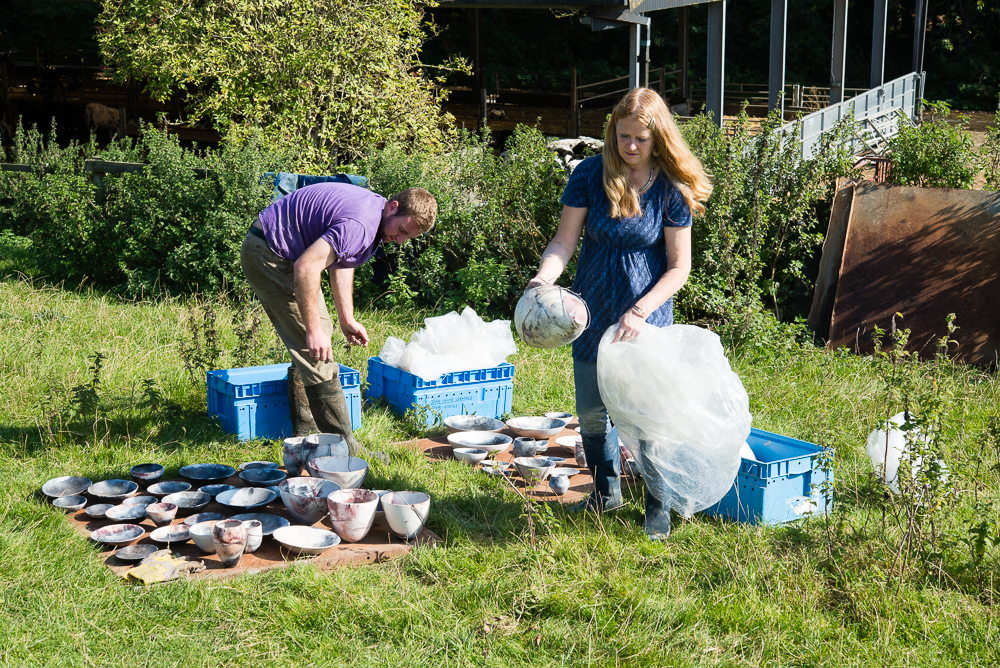
20(a) Work being unloaded from the pit and packed into boxes to take back to the studio 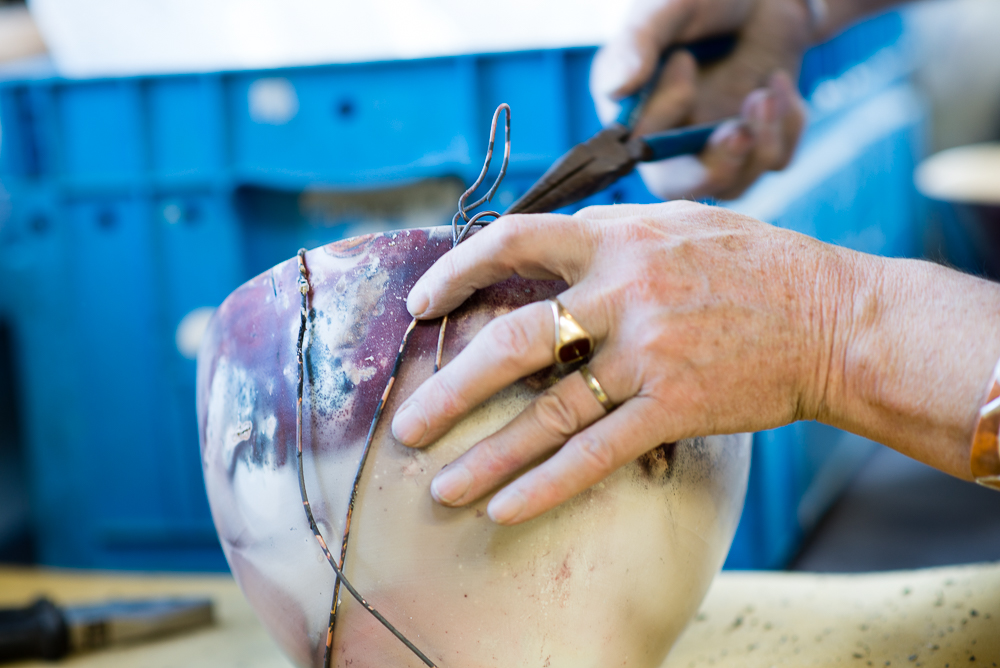
21. Removing the copper wire from a piece 
22. Cleaning and polishing the work with a micro cystalline wax is a ‘family affair’! 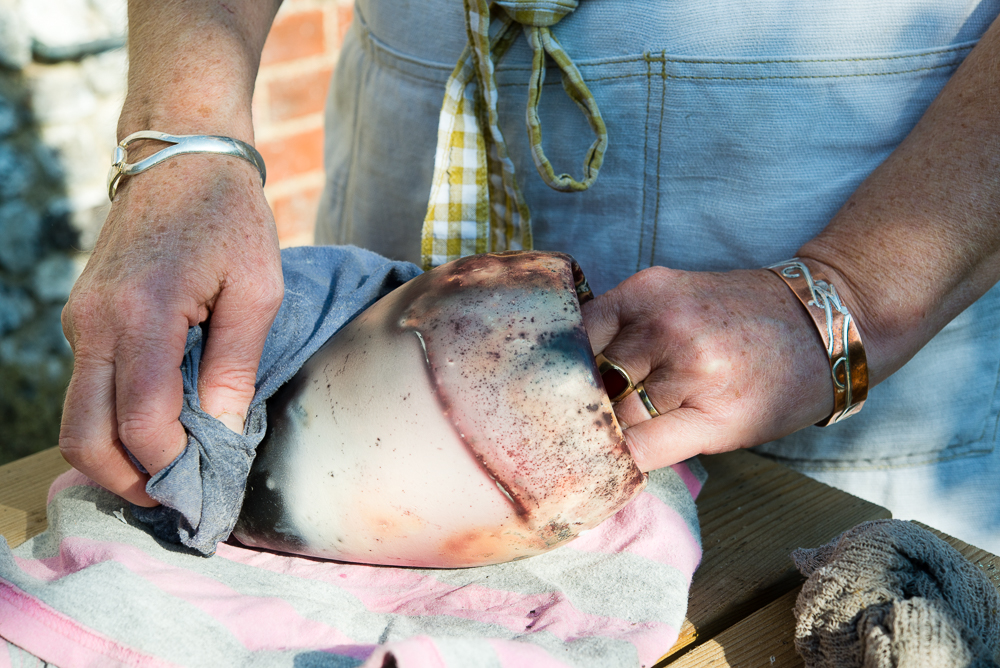
22(a) Waxing and polishing a vessel is an exciting and rewarding job, as all the beautiful colours and patterns are brought to life 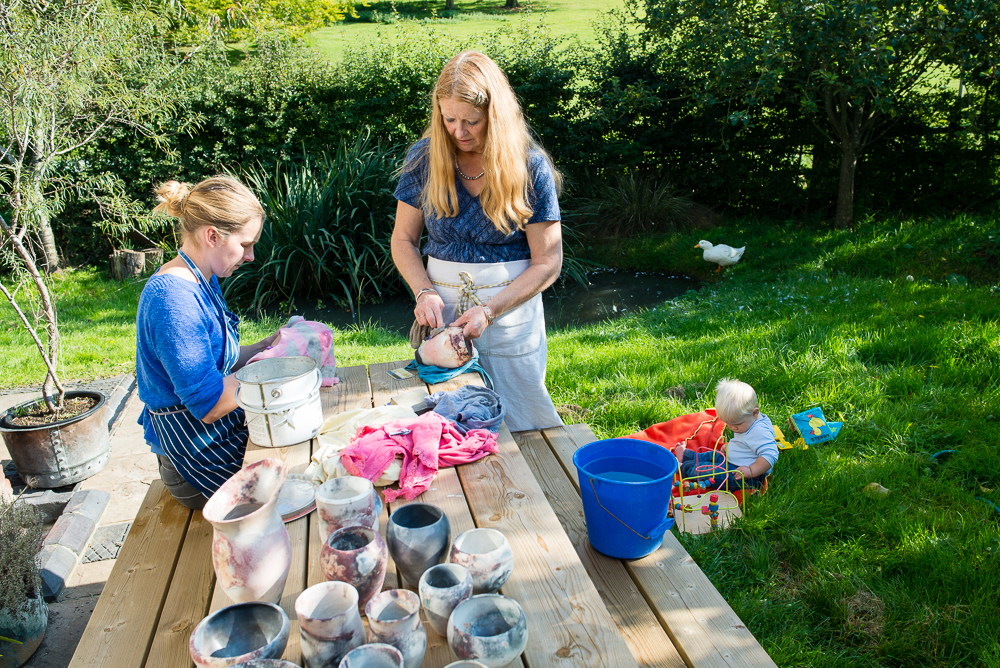
22(b) Cleaning, waxing and polishing outside the studio on a summer’s day 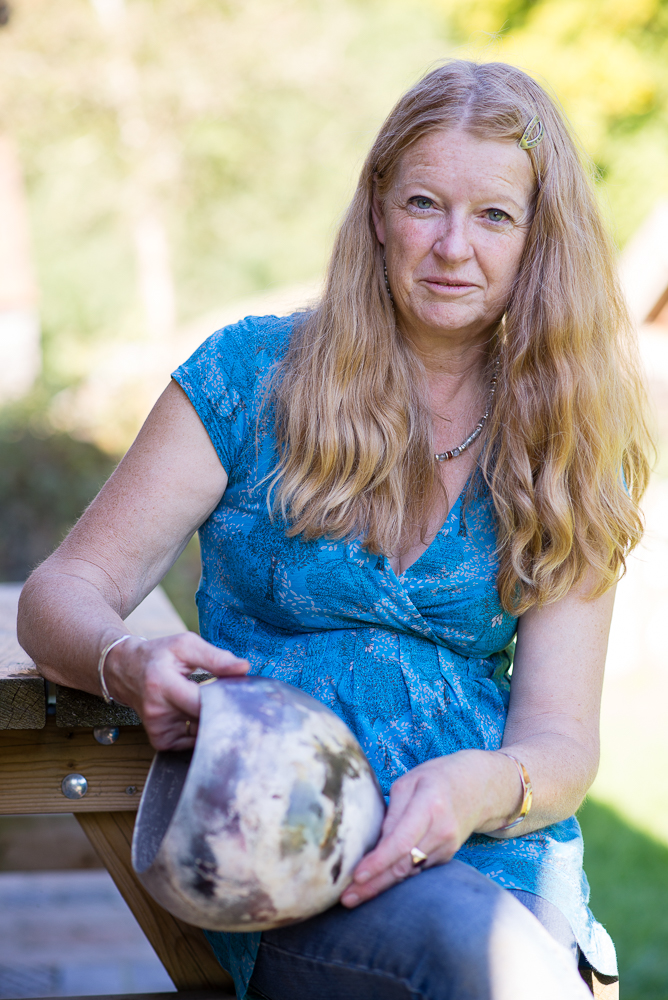
23. Portrait of Jane White with a finished vessel 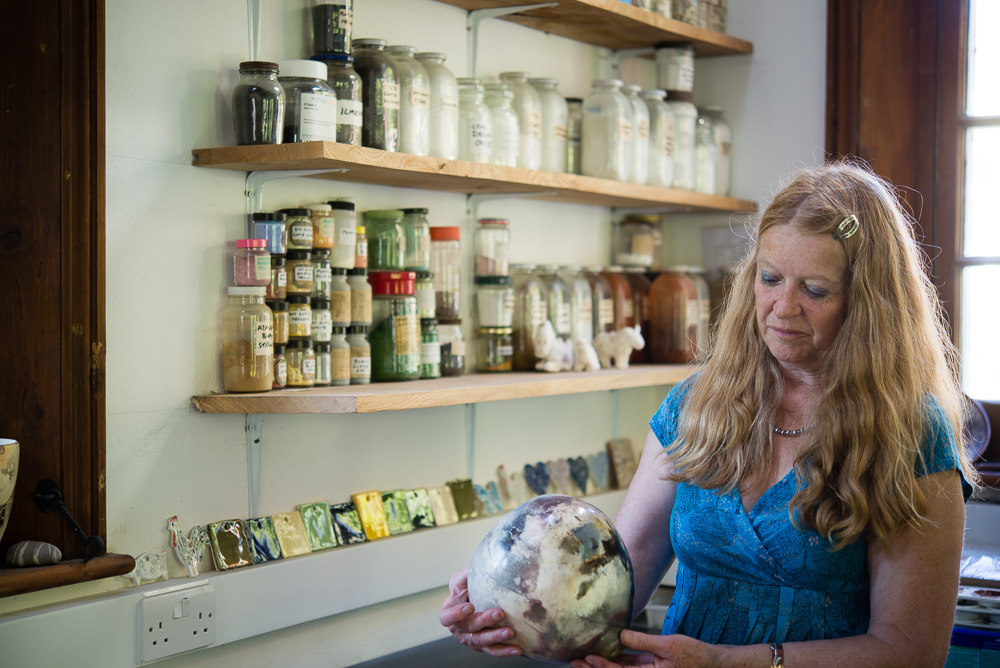
23(a) Portrait of Jane White in the studio 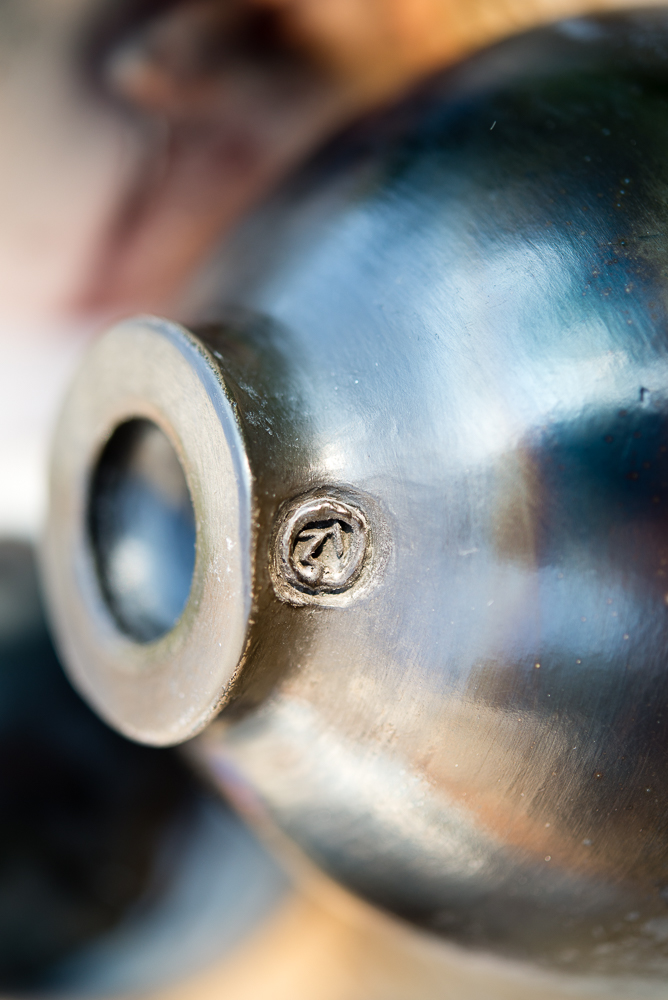
24(a) Jane White – Makers’ Mark 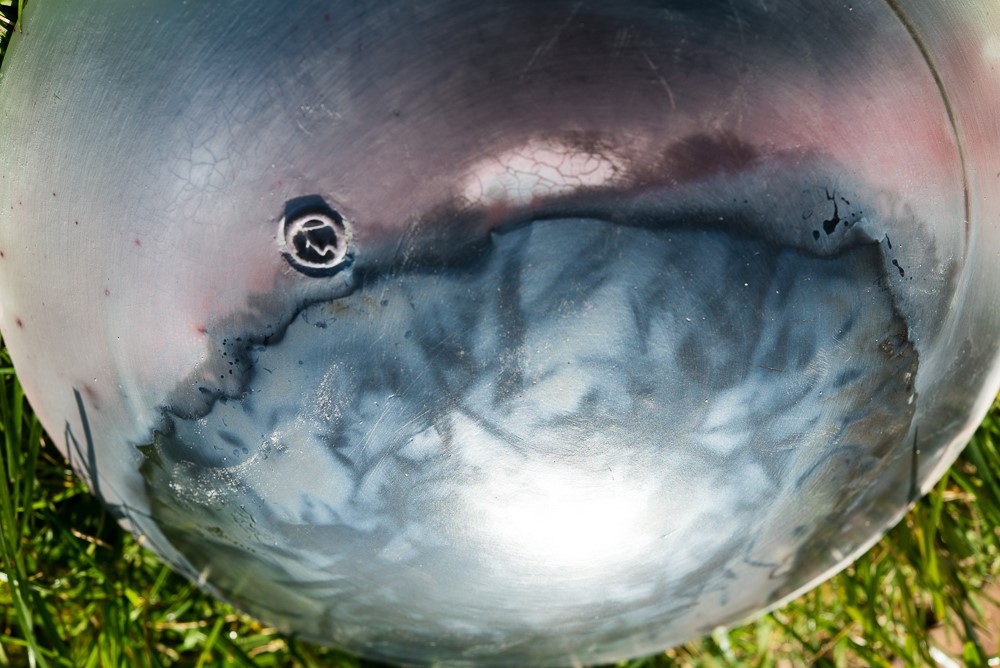
24. Jane White – Makers’ Mark 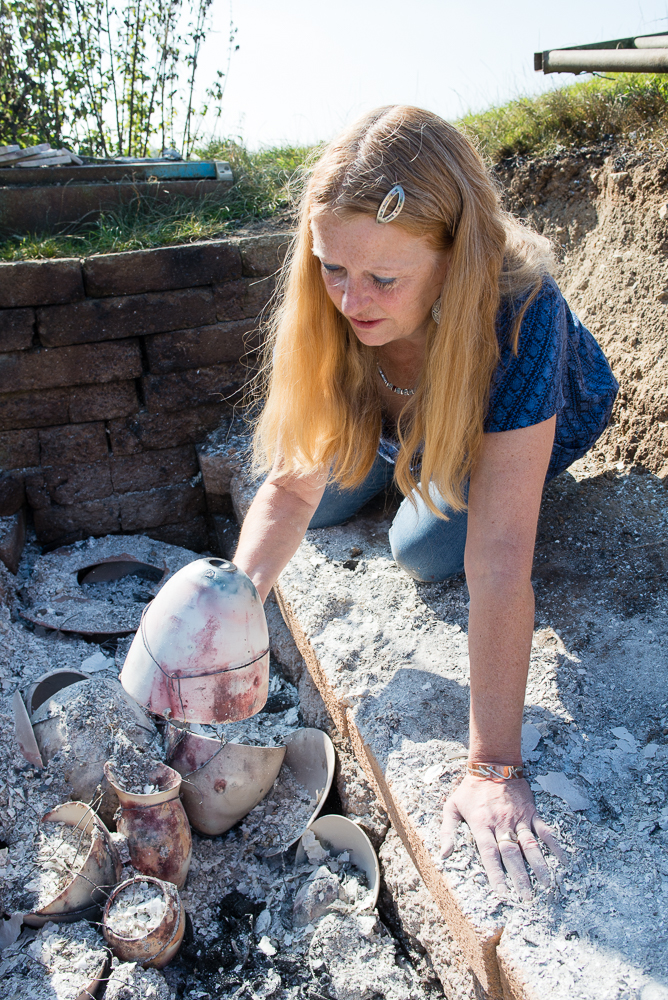
19(b) Lifting the first pot out from the ash, and looking at the beautiful colours that have impergnated the surface of the piece